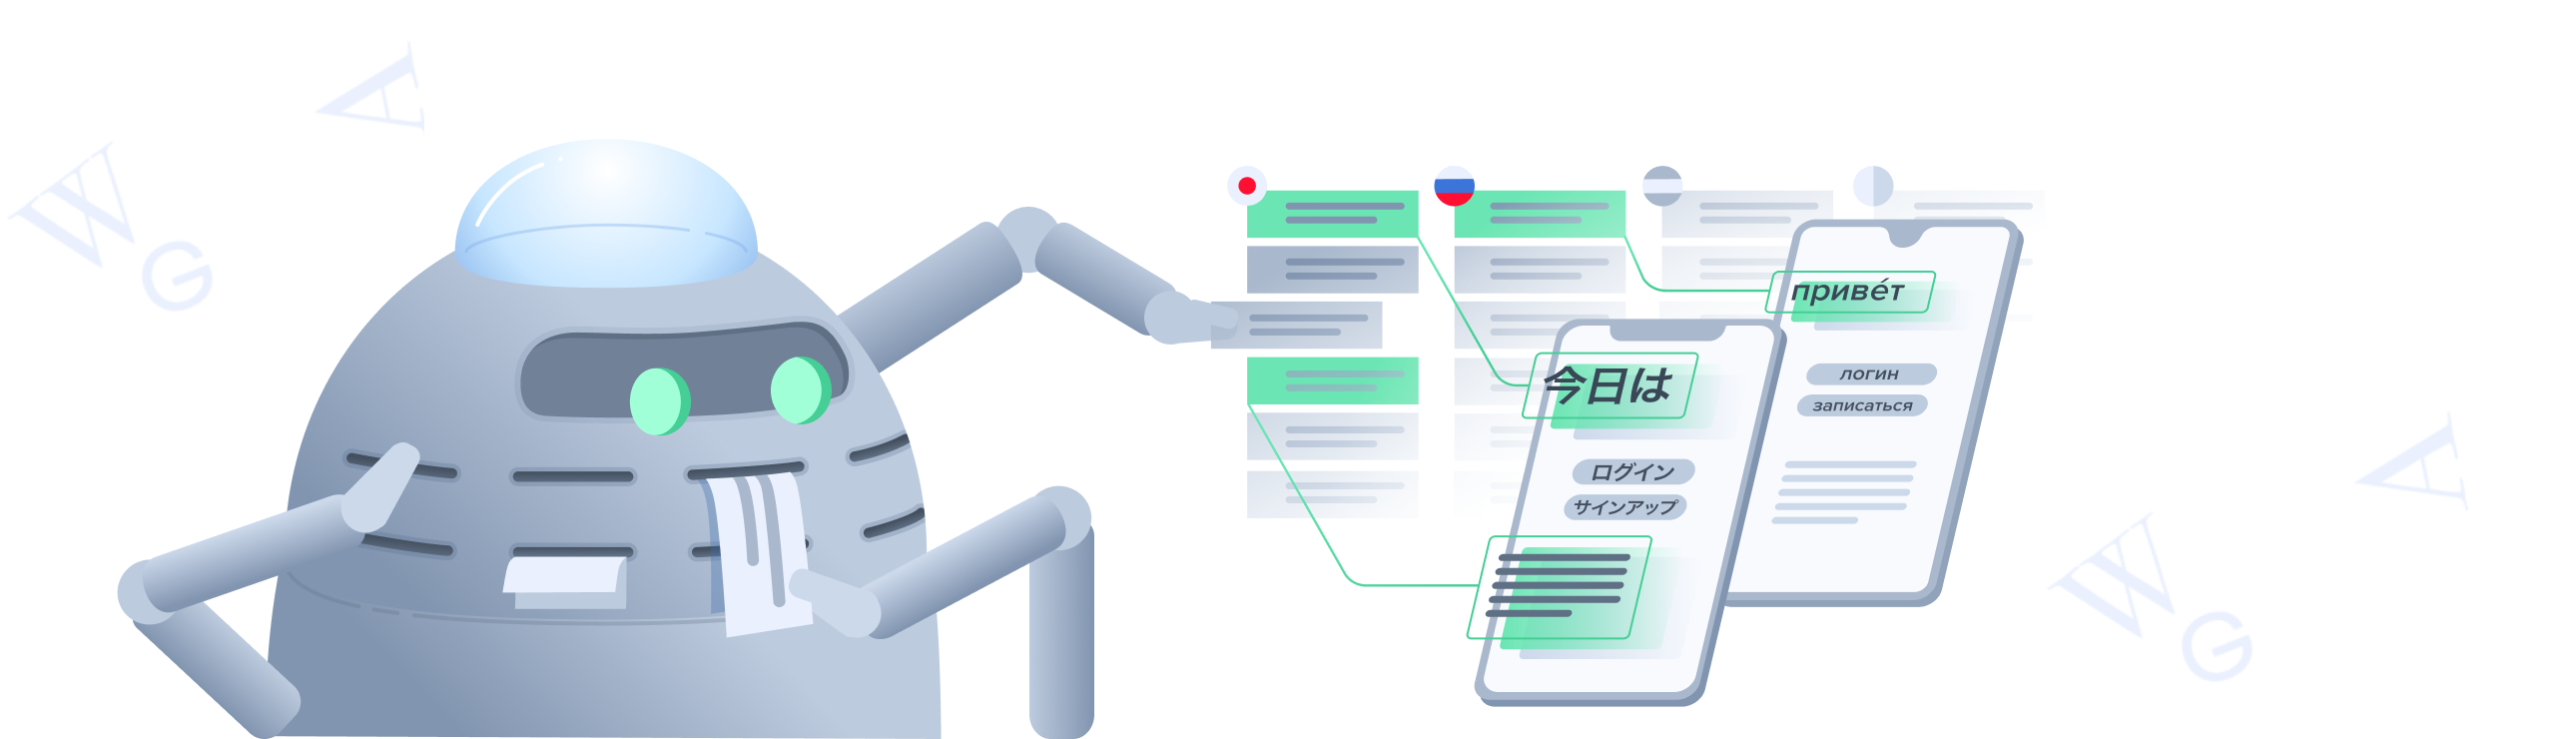
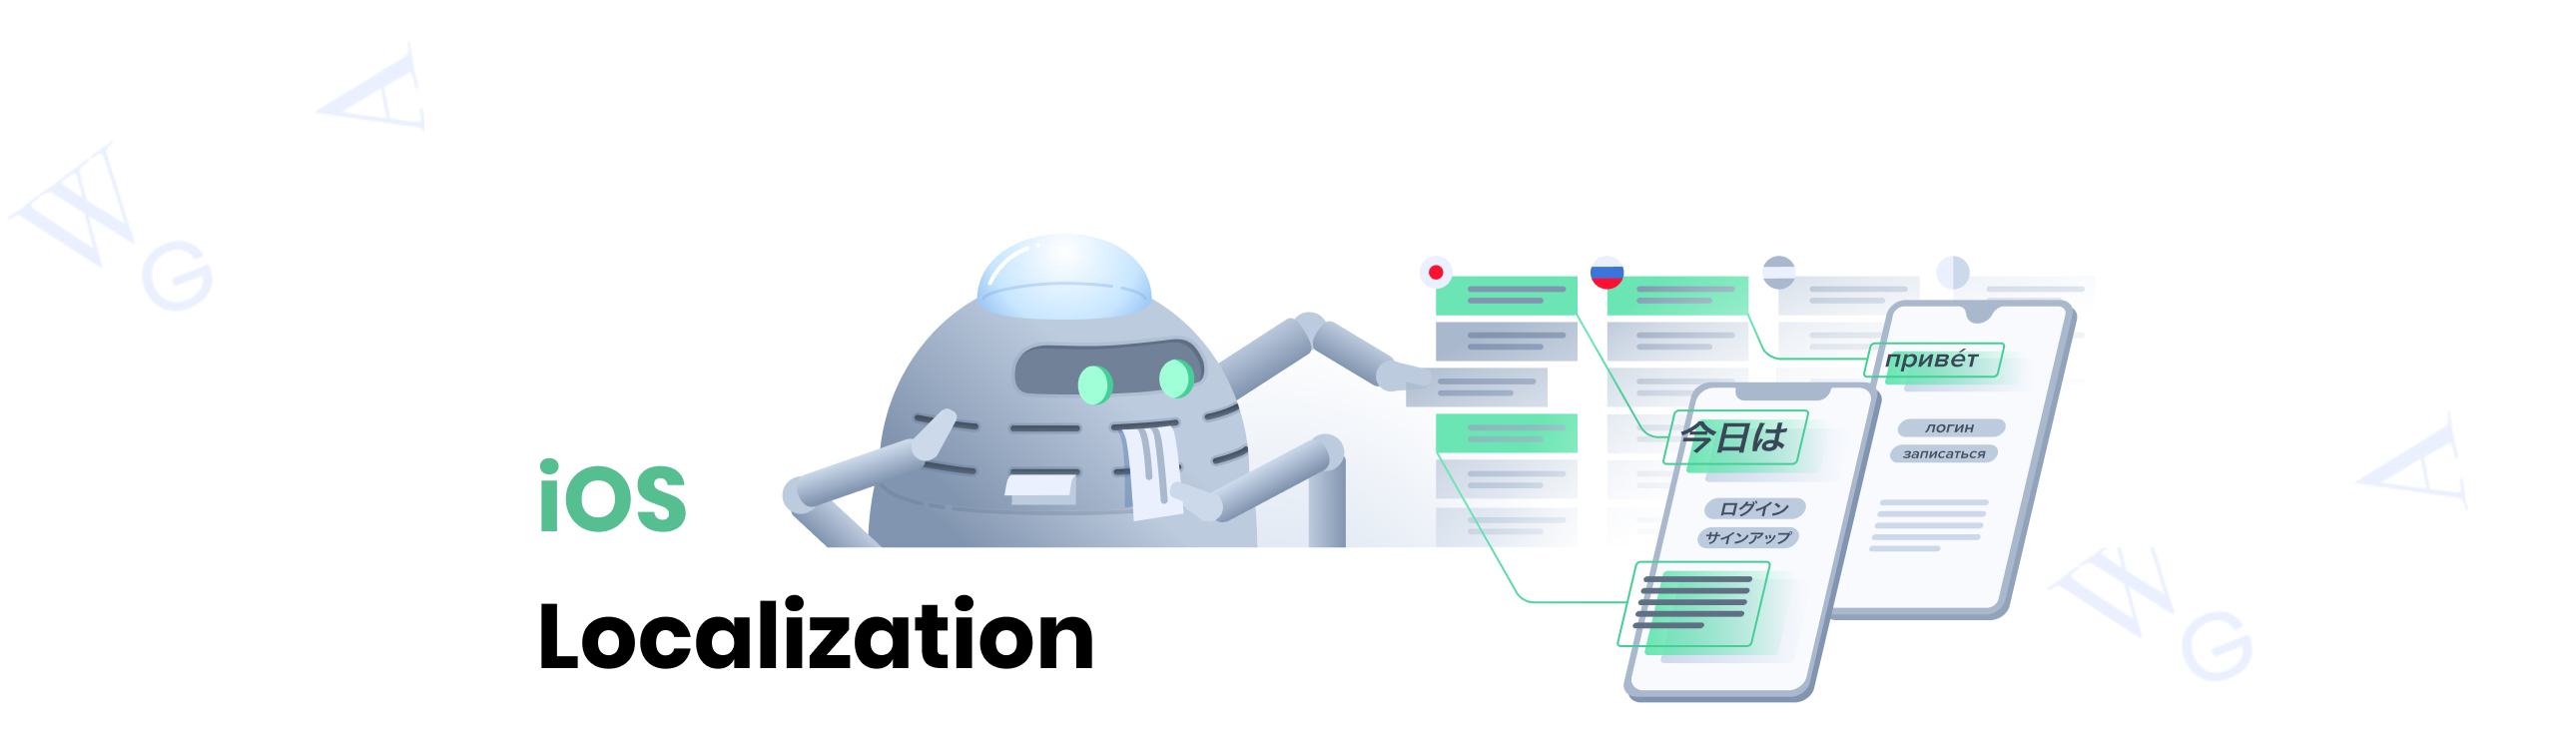
In this article, we show you how to localize an iOS app and make it available in multiple languages by using the LingoHub iOS SDK. We will guide you through the process of adding the SDK and making your mobile app ready to get text/translation updates without releasing a new version (Over-The-Air updates).
First, there is still the question of why should you support multiple languages in the first place? If you have a consumer-facing app, chances are really high that a large percentage of your user base is not English natives. Providing these users with an optimal experience requires your app to be localized and translated. A goal that we help you achieving with our iOS LingoHub SDK.
Prerequisites
For the proper integration of the LingoHub SDK, the first thing you will need is an existing Xcode project with localization support. To guide you through the next steps, we will create a demo app called Funtastic that will be localized into English and German. Although the tutorial is for iOS, the LingoHub SDK will also work the same way with macOS, tvOS & watchOS.
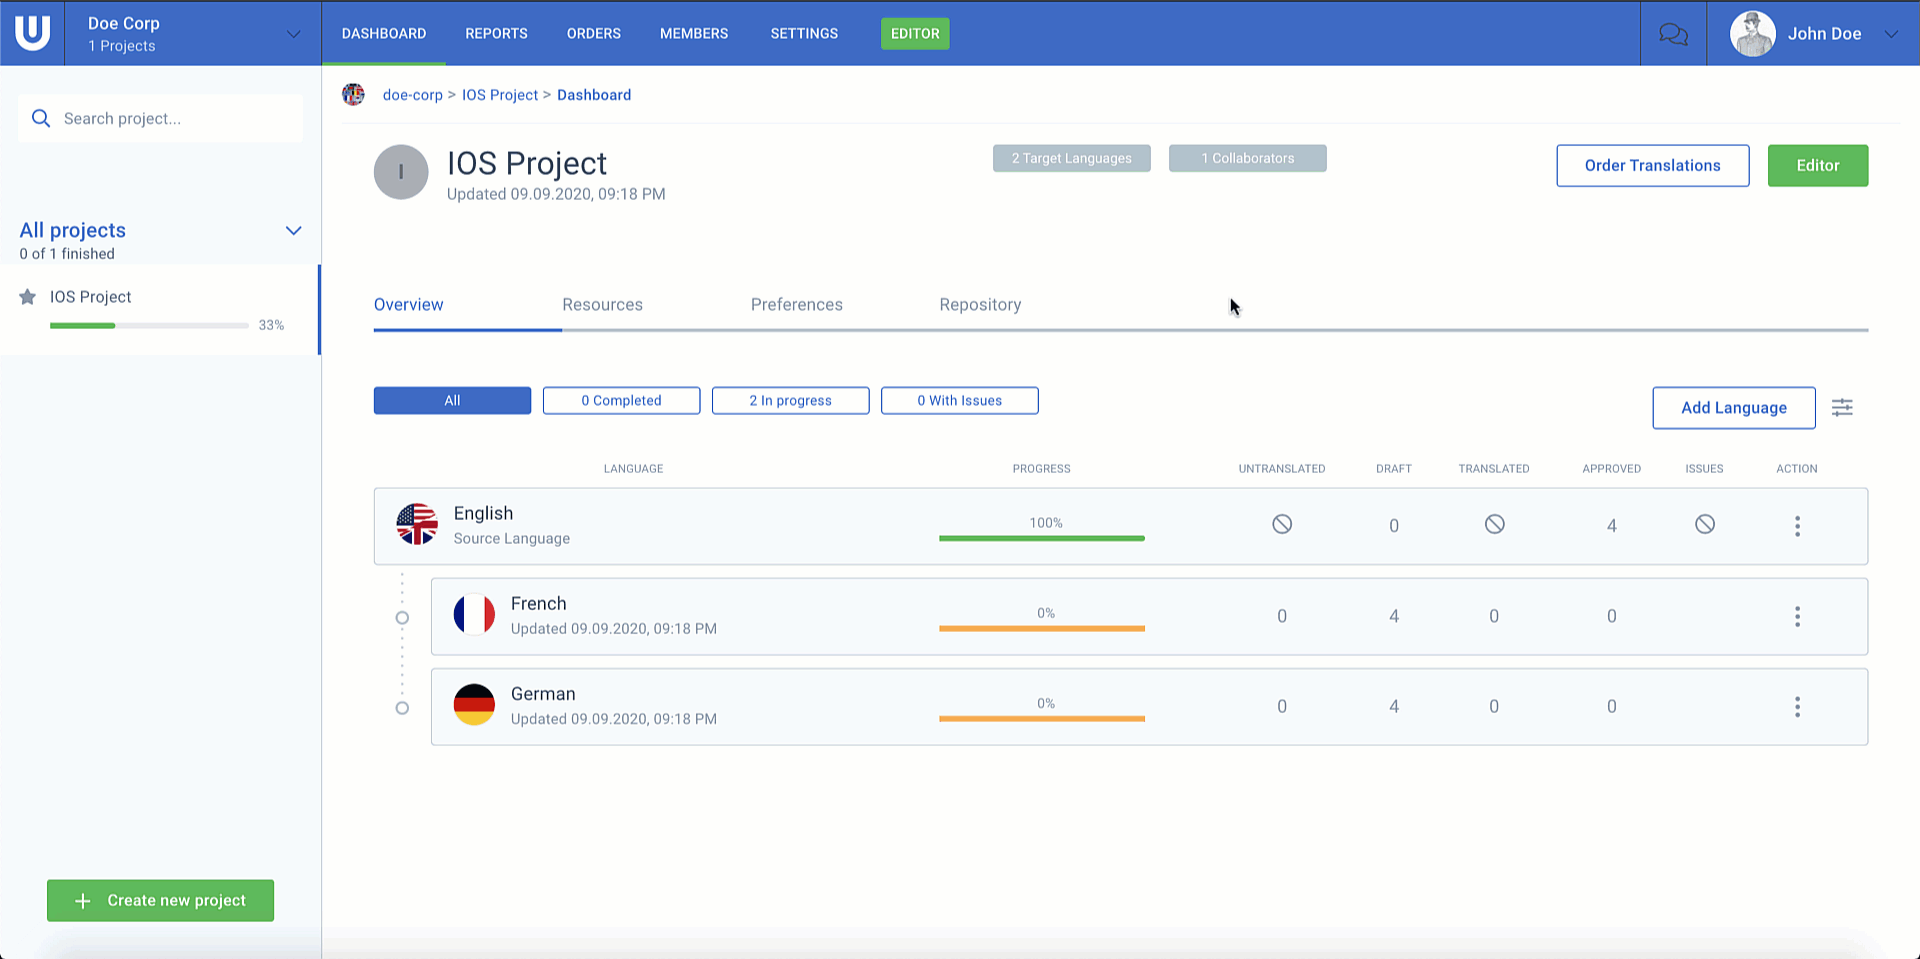
For our demo project Funtastic, we created an app project containing English & German languages.
Creating the Funtastic project in XCode
We created a simple splash screen for the app, including some labels and buttons.
For the moment, all localization is handled statically in the app by adding the required strings into the corresponding Localizable.strings files.
Locazlizable.strings file containg the texts
The UI elements are connected via IBOutlets, so the localization can easily be managed via code instead of using Storyboard localization.
IBOutlet to connect UI elements
For our demo, the app is now finished and working as expected. Usually, you would add some more features, but for the moment, this is fine for us. We would now submit the app to the App Store and release it once it passes the app review.
If you want to change some verbiage in a released app, the process gets really painful. You have to create a new version, upload it again to the App Store, and have it reviewed. There must be something better for this.
Well, luckily for us, there is something better. :)
Let’s integrate the LingoHub SDK into our project. The SDK was designed to be as easy to use and integrate for developers as possible, so you will only need a few lines of code, and you are good to go.
Integrating the SDK
The LingoHub SDK supports integration with all the popular dependency managers, including CocoaPods, Carthage, Swift Package Manager, and manual integration. For help using our integrations, please refer to the readme of our repository. (LingoHub iOS SDK).
In this tutorial, we are using the manual integration and add the Lingohub.xcframework as a dependency by dragging it to Frameworks, Libraries, and Embedded Content section of the target.
Next we start configuring our SDK in the AppDelegate. Let’s import the LingoHub module and add the following snippet:
LingohubSDK.shared.configure(withApiKey: Constants.Lingohub.authToken, projectId: Constants.Lingohub.projectId)

LingohubSDK.shared.swizzleMainBundle()
Connecting to LingoHub
Before you start with this section, make sure you have either an iOS or Android project on LingoHub. How you can create one, is described in detail in our Help Center. To connect the SDK to LingoHub, two steps are necessary:
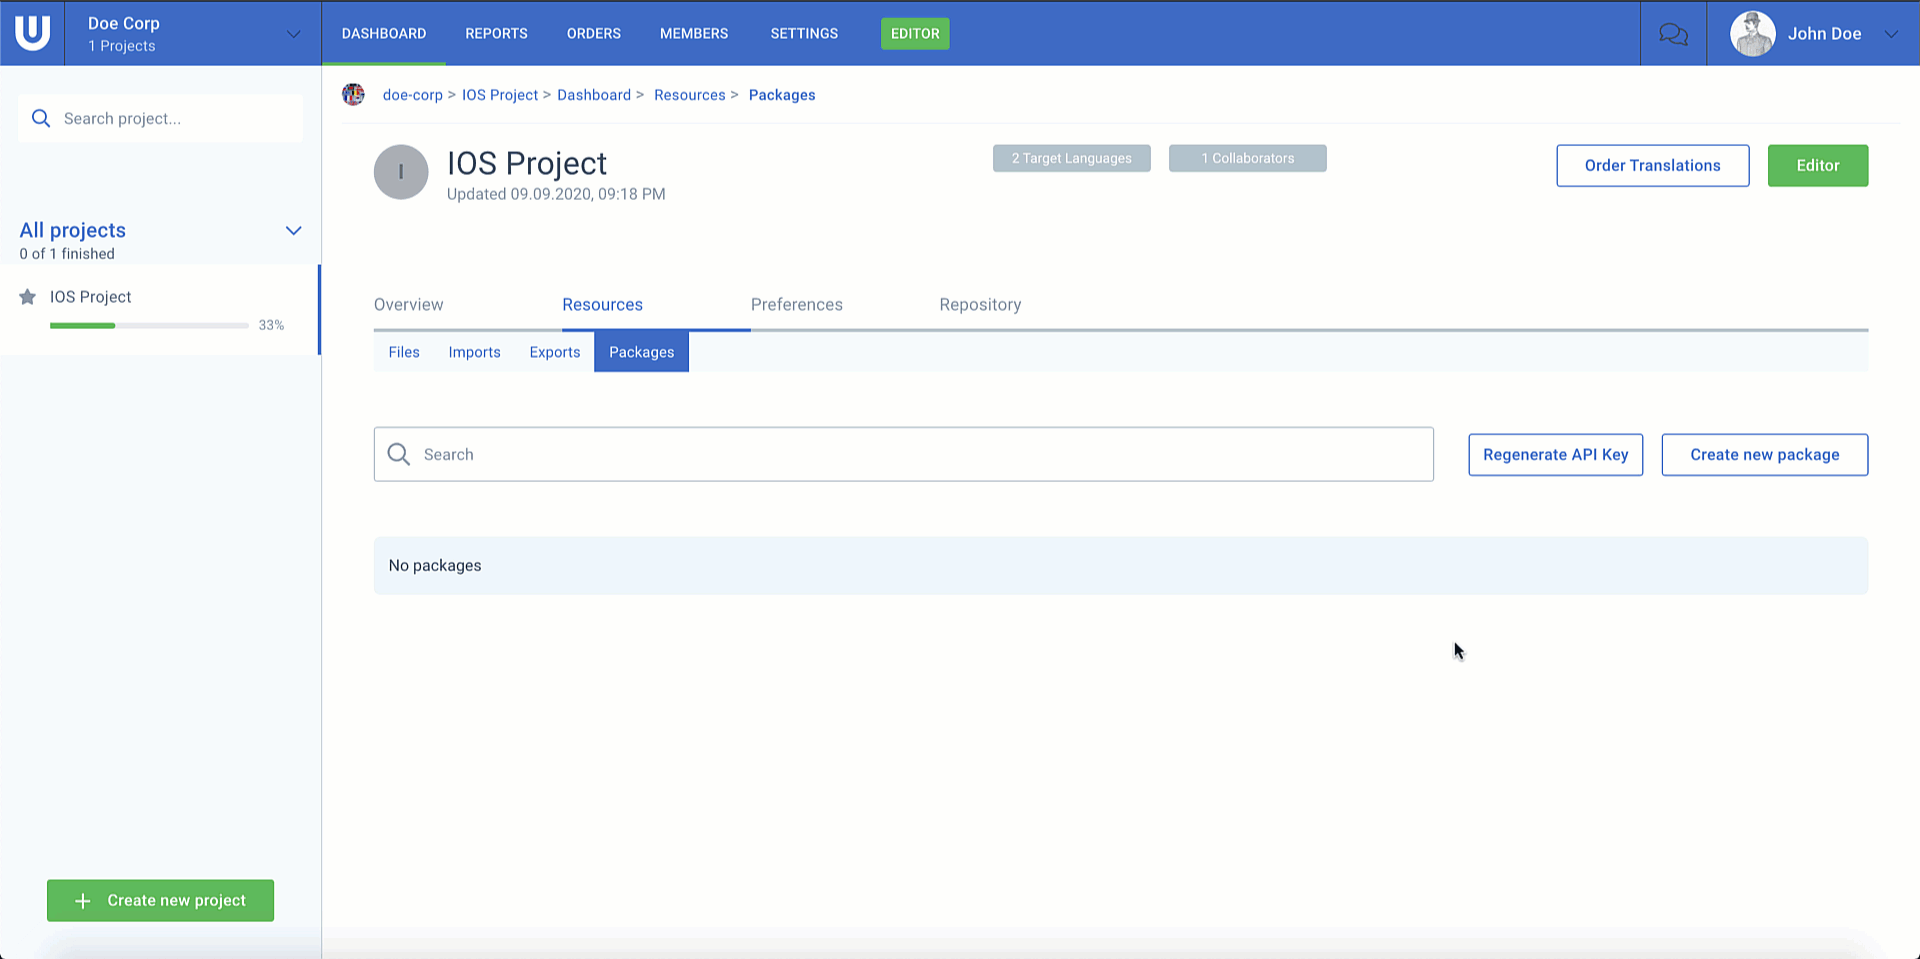
Creating a package
Creating a package is really simple and can be done through LingoHub’s intuitive UI. By creating a package you have to enter the following information:
Platform: Either iOS or Android. This option tells the system what kind of files (.string or .xml) the package will contain.
Note, although LingoHub’s projects are associated with only one platform, it is possible to create an Android package in an iOS project and vice versa. So if you have one project for both, Android and iOS, you need to create two packages for OTA updates.
Stage: This is optional to use. Basically it allows you to distinguish between two environments, production and pre-production, so you can test the new texts before you release it to production.
Version from and to: Since you normally don’t have one version out in the wild, it is handy to specify for which versions a package is responsible. This allows you to manage different and incompatible versions. The from version is inclusive and the to version is exclusive, as it is in most programming languages.
A package consists of one or more releases. You can think of a release like a version of a package. Only one release can be active. Check the following graphic on how the SDK determines which package-release combo to use. Note: iOS V4.0 and iOS V3.0 won’t receive any updates because the package version doesn’t match. The actual version of your app will be used against the package version.
For this tutorial, we will use
Platform: iOS
Stage: Production
Version from: 1
Version to: 1.3
LingoHub will automatically create a release for a new package.
Create package holding the translations from LingoHub
Creating an API key
Now you need to add an API key and the Project ID to your project, so that the SDK can access the LingoHub API. Creating the API is really easy, simply click the Create API Key under packages. Then a dialog shows up showing the new API Key + the Project ID.
Important, the API key is not displayed again, you can only generate a new one, so please make sure that you save your API key + Project ID somewhere safe!
API key and Project ID for connecting the SDK
Next, add the code for the SDK to check for an update package of your translations
func applicationDidBecomeActive(_ application: UIApplication) {
    LingohubSDK.shared.update { result in
        switch result {
        case .success(let value):
            print("Content updated: \\(value)")
        case .failure(let error):
            print(error.localizedDescription)

        }
    }
}
The last thing we need to do is to subscribe to the LingohubDidUpdateLocalization notification, which will tell us when new translations were found. Once this notification is received, just update the UI and you will see your brand new translations. We think applicationDidBecomeActive is a good place to check for updates, but you can add this code wherever you want to, as long as it is run.
NotificationCenter.default.addObserver(forName: .LingohubDidUpdateLocalization, object: nil, queue: nil) { [weak self] _ in
    self?.updateLocalization()
}
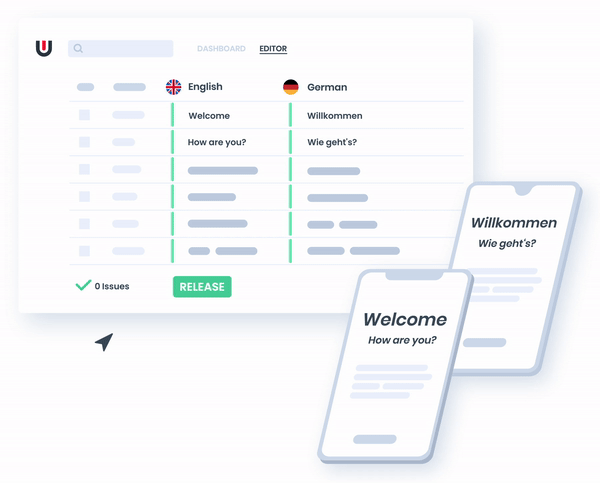
Over-The-Air updates
Now everything is in place, and the SDK listens to changes on LingoHub. So the next step is to inform the SDK when we want the texts updated. We can do this by creating a new release for the package that we created.
Important: As stated above a package can have multiple releases, but only one can be active. The active release will be delivered to the SDK. This way you have the ability to version your releases and if necessary quickly switch back. The SDK then will ping the LingoHub API and will be informed that new texts are available. So it will download and update the texts. This only happens once, the texts are then stored in your app.
Releasing new texts via LingoHub
And like magic all your users get the new texts without the need for a new release:
Summary
We hope we got you as excited as we are about this new feature. Check out the code of this tutorial and the SDK. If you have any feedback or questions, don’t hesitate to contact us. We happily help you set up OTA updates for your awesome app.
Btw. if you are not a LingoHub user yet, start the free trial and contact us!
Links:

)